
This article comes out of my own need to make pottery form planning faster, clearer, and less repetitive in real studio practice.
How to Design a Pottery Form Before Throwing
Designing a pottery form before throwing can save time, reduce frustration, and lead to stronger finished pieces. Many forms do not fail on the wheel itself. They fail earlier, when the idea is still too vague.
A pot may seem clear in your head, but once you try to sketch it or throw it, problems show up fast. The neck feels too tight. The belly becomes too heavy. The lower section no longer supports the upper mass. The proportions looked fine in imagination, but not in reality.
That is why pottery form design matters before clay ever touches the wheel.
Most pottery form problems start before throwing
A lot of potters assume the real design happens while throwing.
That is only partly true.
Yes, the wheel changes things. Hands change things. Clay changes things. But most weak forms do not begin as technical failures. They begin as unclear decisions.
Usually the issue is one of these:
- the height and width relationship is unresolved
- the silhouette is attractive in parts, but the whole form does not hold together
- one area, like the shoulder or lower section, overpowers the rest
- the form is being improvised without enough structure
Throwing can refine a good idea. It cannot always rescue a confused one.
If you want better forms, you need a clearer design stage before throwing begins.
Start with proportion, not decoration
Before thinking about surface, trimming details, glaze, or handles, focus on the body of the form itself.
Ask basic questions first:
- How tall is the piece?
- Where is the widest point?
- How narrow or open is the top?
- Does the lower section feel stable?
- Is the silhouette calm, tense, soft, architectural, or heavy?
These questions matter more than many potters admit.
A beautiful glaze on a weak form is still a weak form. A clean silhouette with strong proportion already carries presence, even before finishing details appear.
That is why early pottery form design should stay simple. Strip the idea down to height, width, curve, transition, and balance.
Sketching helps, but repeated redrawing has limits
Hand sketching is useful. It helps you slow down and observe. It can reveal rhythm, proportion, and mood.
But once you begin iterating, sketching everything from scratch becomes inefficient.
A small change in one part of the form often forces you to redraw the entire profile. Move the belly slightly and the shoulder must adapt. Widen the base and the whole lower section changes. Increase the height and suddenly the neck feels too long.
That is where many potters lose clarity.
Instead of comparing decisions precisely, they start chasing impressions.
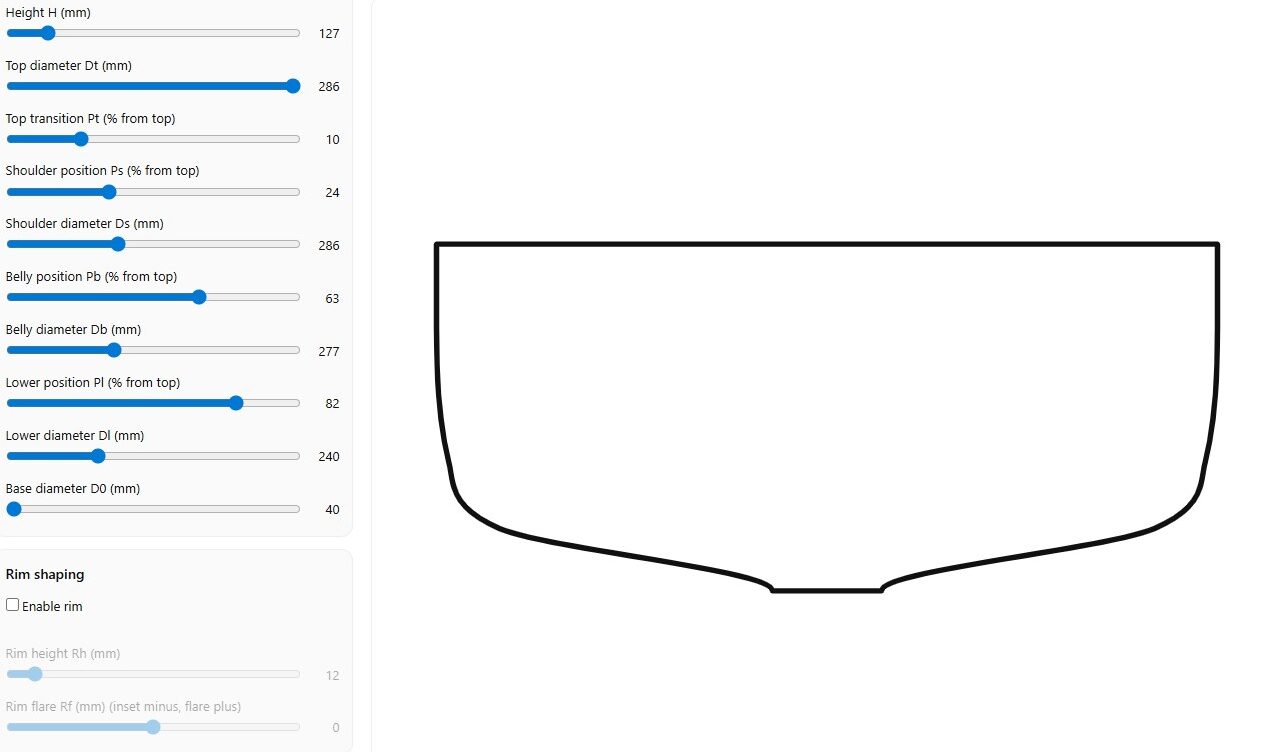
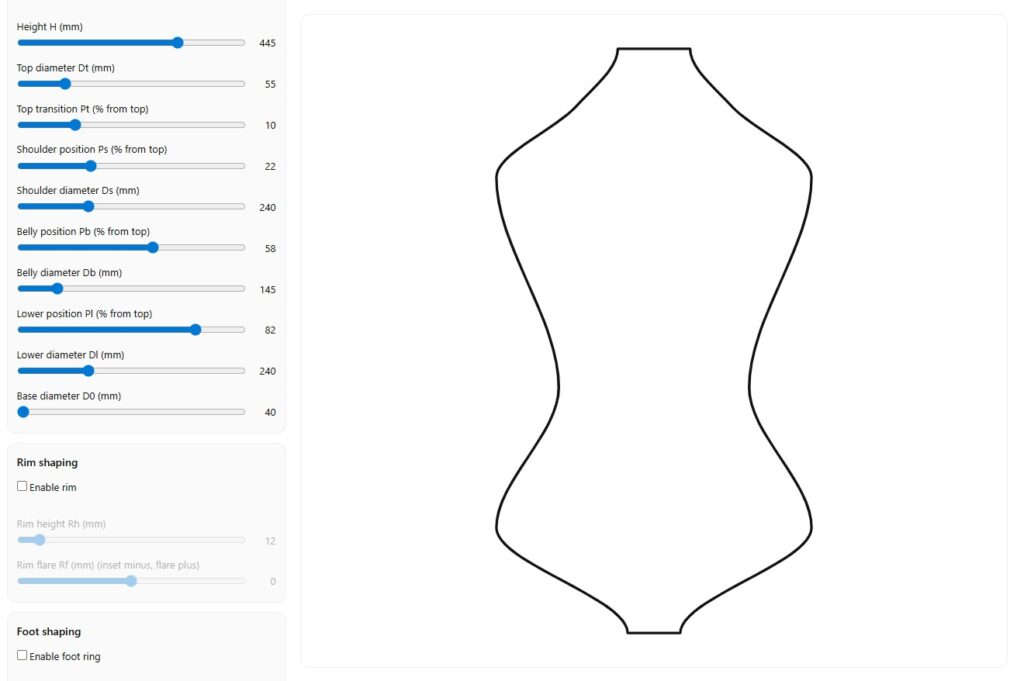
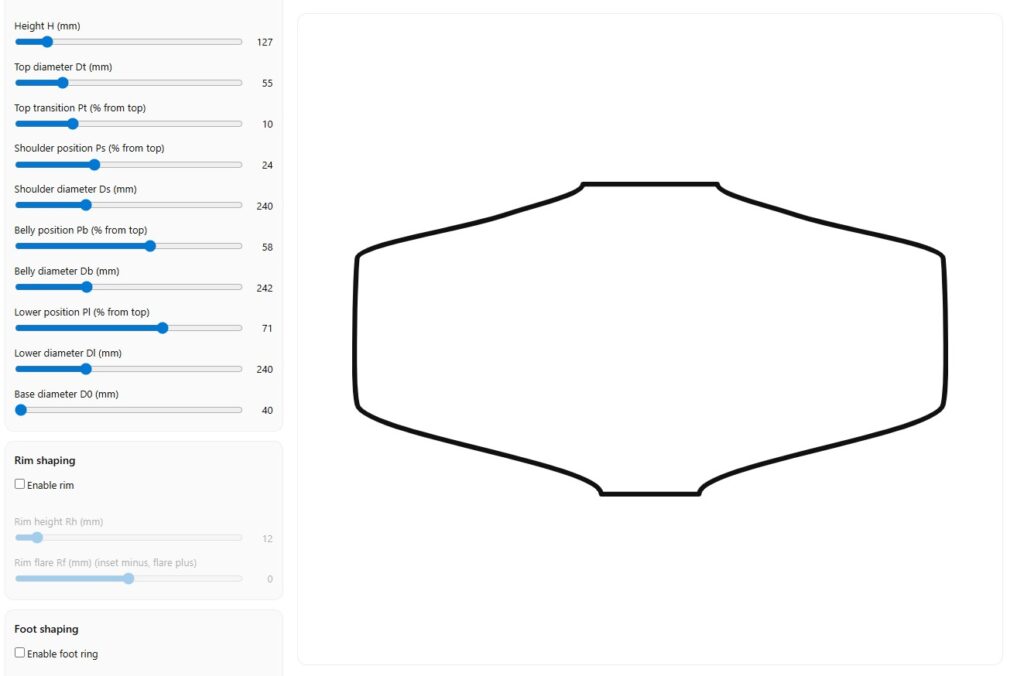
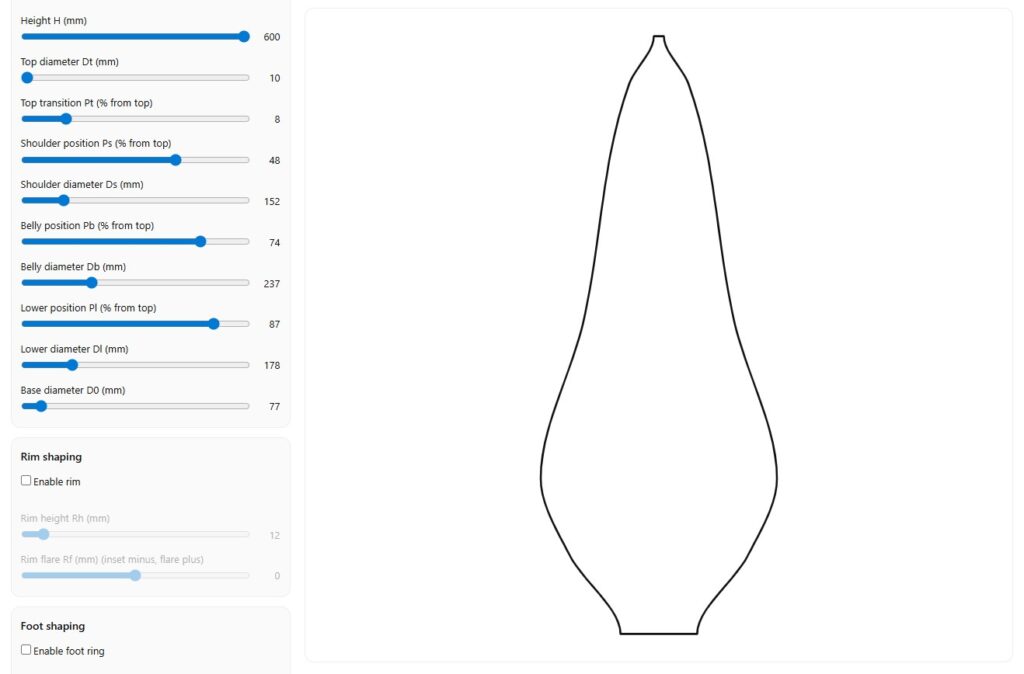
This is one reason I built the Pottery Shape Generator. It gives you a faster way to test a form through dimensions, proportion, and live visual feedback before throwing begins.
Use dimensions to think more clearly
Pottery form design becomes more practical when dimensions stay visible.
Once height and diameters are part of the design process, proportion becomes easier to judge. You stop relying only on loose intuition and start seeing how each adjustment affects the whole form.
A narrower top can create tension.
A wider shoulder can add stability or heaviness.
A fuller belly can bring softness, but also visual drag.
A tighter lower section can sharpen the silhouette or make it feel unsupported.
These are not abstract ideas. They are visible consequences of measurable changes.
That is why a tool like the Pottery Shape Generator can be useful even for experienced potters. It does not replace taste or judgment. It simply makes comparison faster and clearer.
Test the form before making wheel decisions
This is where the workflow becomes important.
There are really two different questions in pottery:
- What form am I trying to make?
- What kind of wheel setup or making conditions help me make it well?
A lot of people mix these too early.
If the form itself is still unresolved, wheel questions come too soon. You do not yet need to obsess over motor strength, control feel, torque response, or splash pan layout if you still do not know whether your vessel should be tall and narrow or wide and grounded.
That is why I see the Pottery Shape Generator as the earlier stage of the workflow. It helps you explore the form first.
Once the form language becomes clearer, the next question becomes practical: how will this translate into making?
That is where the DIY Pottery Wheel Guide becomes useful. It helps you think through the wheel as a real working system, not just as a list of parts.
Form thinking and wheel thinking are connected
A potter who wants to make broad, low serving bowls may not need exactly the same wheel priorities as someone aiming for taller, narrower, more vertically controlled forms.
The kind of work you want to make affects how you think about making conditions.
That is why form planning and wheel planning should speak to each other.
A better pottery workflow often looks like this:
- first, clarify the form
- second, test its proportions
- third, understand what the making process demands
- fourth, align your wheel setup and decisions with the work you actually want to produce
This is the bridge between the two tools.
The Pottery Shape Generator helps with form exploration.
The DIY Pottery Wheel Guide helps with wheel decisions.
One gives you clearer design direction.
The other helps you make better technical choices.
Who this workflow helps most
This approach is especially useful for:
Hobby potters
People who want more confidence before sitting at the wheel.
Ceramic students
People learning how proportion, silhouette, and structure work together.
Studio potters
Makers who want to move through form variations faster without redrawing everything by hand.
DIY minded potters
People who are not only designing forms, but also thinking seriously about wheel setup, studio function, and better long term decisions.
If that is you, then using both tools as part of one workflow makes sense.
A simple way to work in practice
Here is a practical sequence:
Start by defining the rough family of form you want.
Then test height, diameters, and profile relationships.
Remove weak versions early.
Keep only the silhouettes that still feel strong after small adjustments.
After that, think about how those forms will behave in real making conditions.
Only then move deeper into wheel related decisions.
This order matters.
Too many people obsess over tools before they have clarified the object. Others stay trapped in sketch mode without ever connecting form to the physical conditions of making.
A stronger workflow links both.
Final thought
Good pottery forms usually do not appear all at once.
They are refined through comparison, correction, and better judgment.
That is why designing a pottery form before throwing is not wasted time. It is often the stage that saves the whole piece.
If you want a faster way to test proportions and silhouette, start with the Pottery Shape Generator.
If you also want to think more clearly about the making side, continue with the DIY Pottery Wheel Guide.
And if you want to see the broader studio context behind both, explore Studio Bernhard.